So since I don’t have a mobile setup like the veterans of the group I’m resigned to fact that I need to take most of my UK setup with me abroad. This means some serious weight to transport, so basically I have the following to pack and carry :
- Hold bag1 (~18Kg)
- Skywatcher NEQ6 mount
- Hold bag2 (~18Kg)
- Skywatcher Tripod (7Kg)
- Counterweight (5Kg)
- Box of accessories (~6Kg)
- PSU, cables etc
- Clothes …. I guess
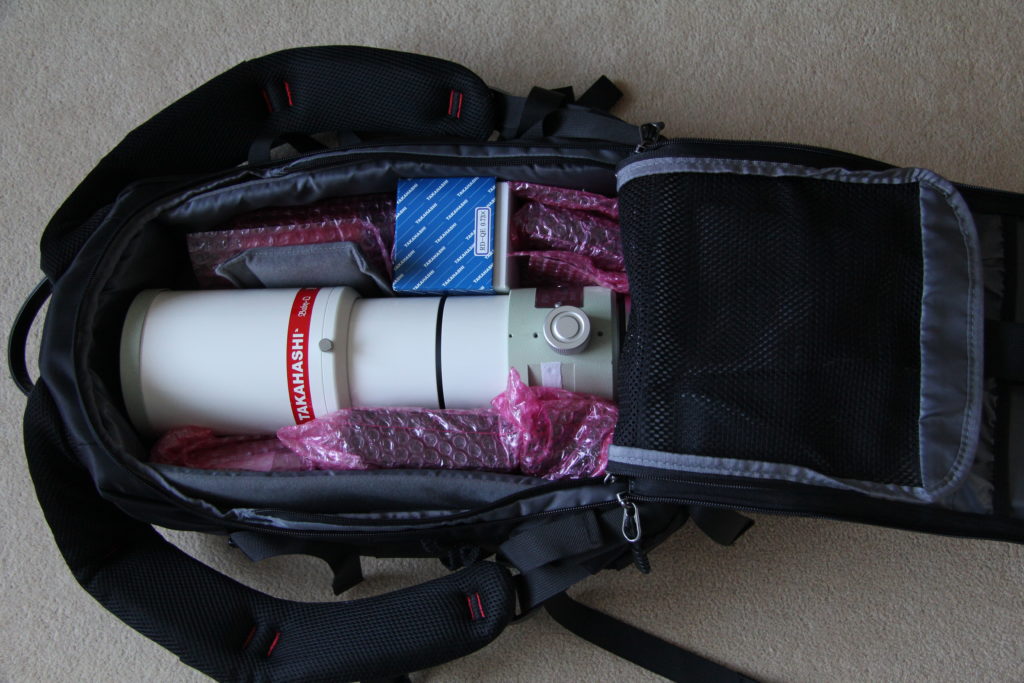
- Cabin bag1 (~7Kg)
- Tak FSQ85
- Tak focal reducer
- Atik 460 CCD imaging camera
- Lodestar guide camera
- PoleMaster camera
- Lakeside focuser control unit
- Unihedron SQM
- ADM Scope plate
- Cabin bag2 (~6Kg)
- Atik EFW2 and filters
- Laptop & NUC
- Various digital items (GPS, USB hard disk etc)
- ADM mount puck and scope rings
Hopefully the scope bag will in in the overhead with it’s precious contents….don’t drop it ! The laptop bag should fit under the seat….hopefully.
I won’t be sure on the final weights until the digital handheld scales I’ve ordered arrive tomorrow.
At the moment I’m just finishing the calibration and setup of the Lakeside focuser and it’s configuration in SGPro.
Update : The digital scales arrived so now I have weights for a few items and move things around a bit –
- Hold Bag1 = 19.3kg
- Hold Bag2 = 22.5Kg
- Cabin Bag1 = 8kg
- Cabin Bag2 = 8.85Kg
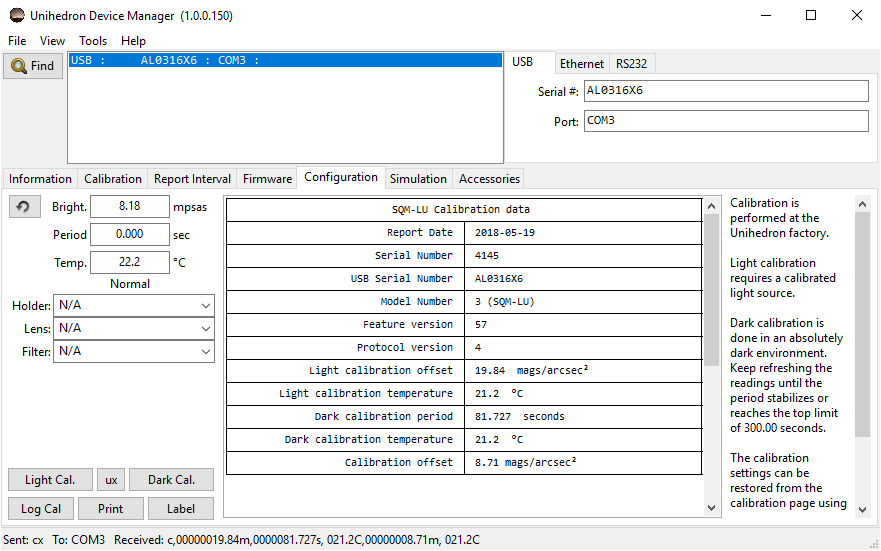
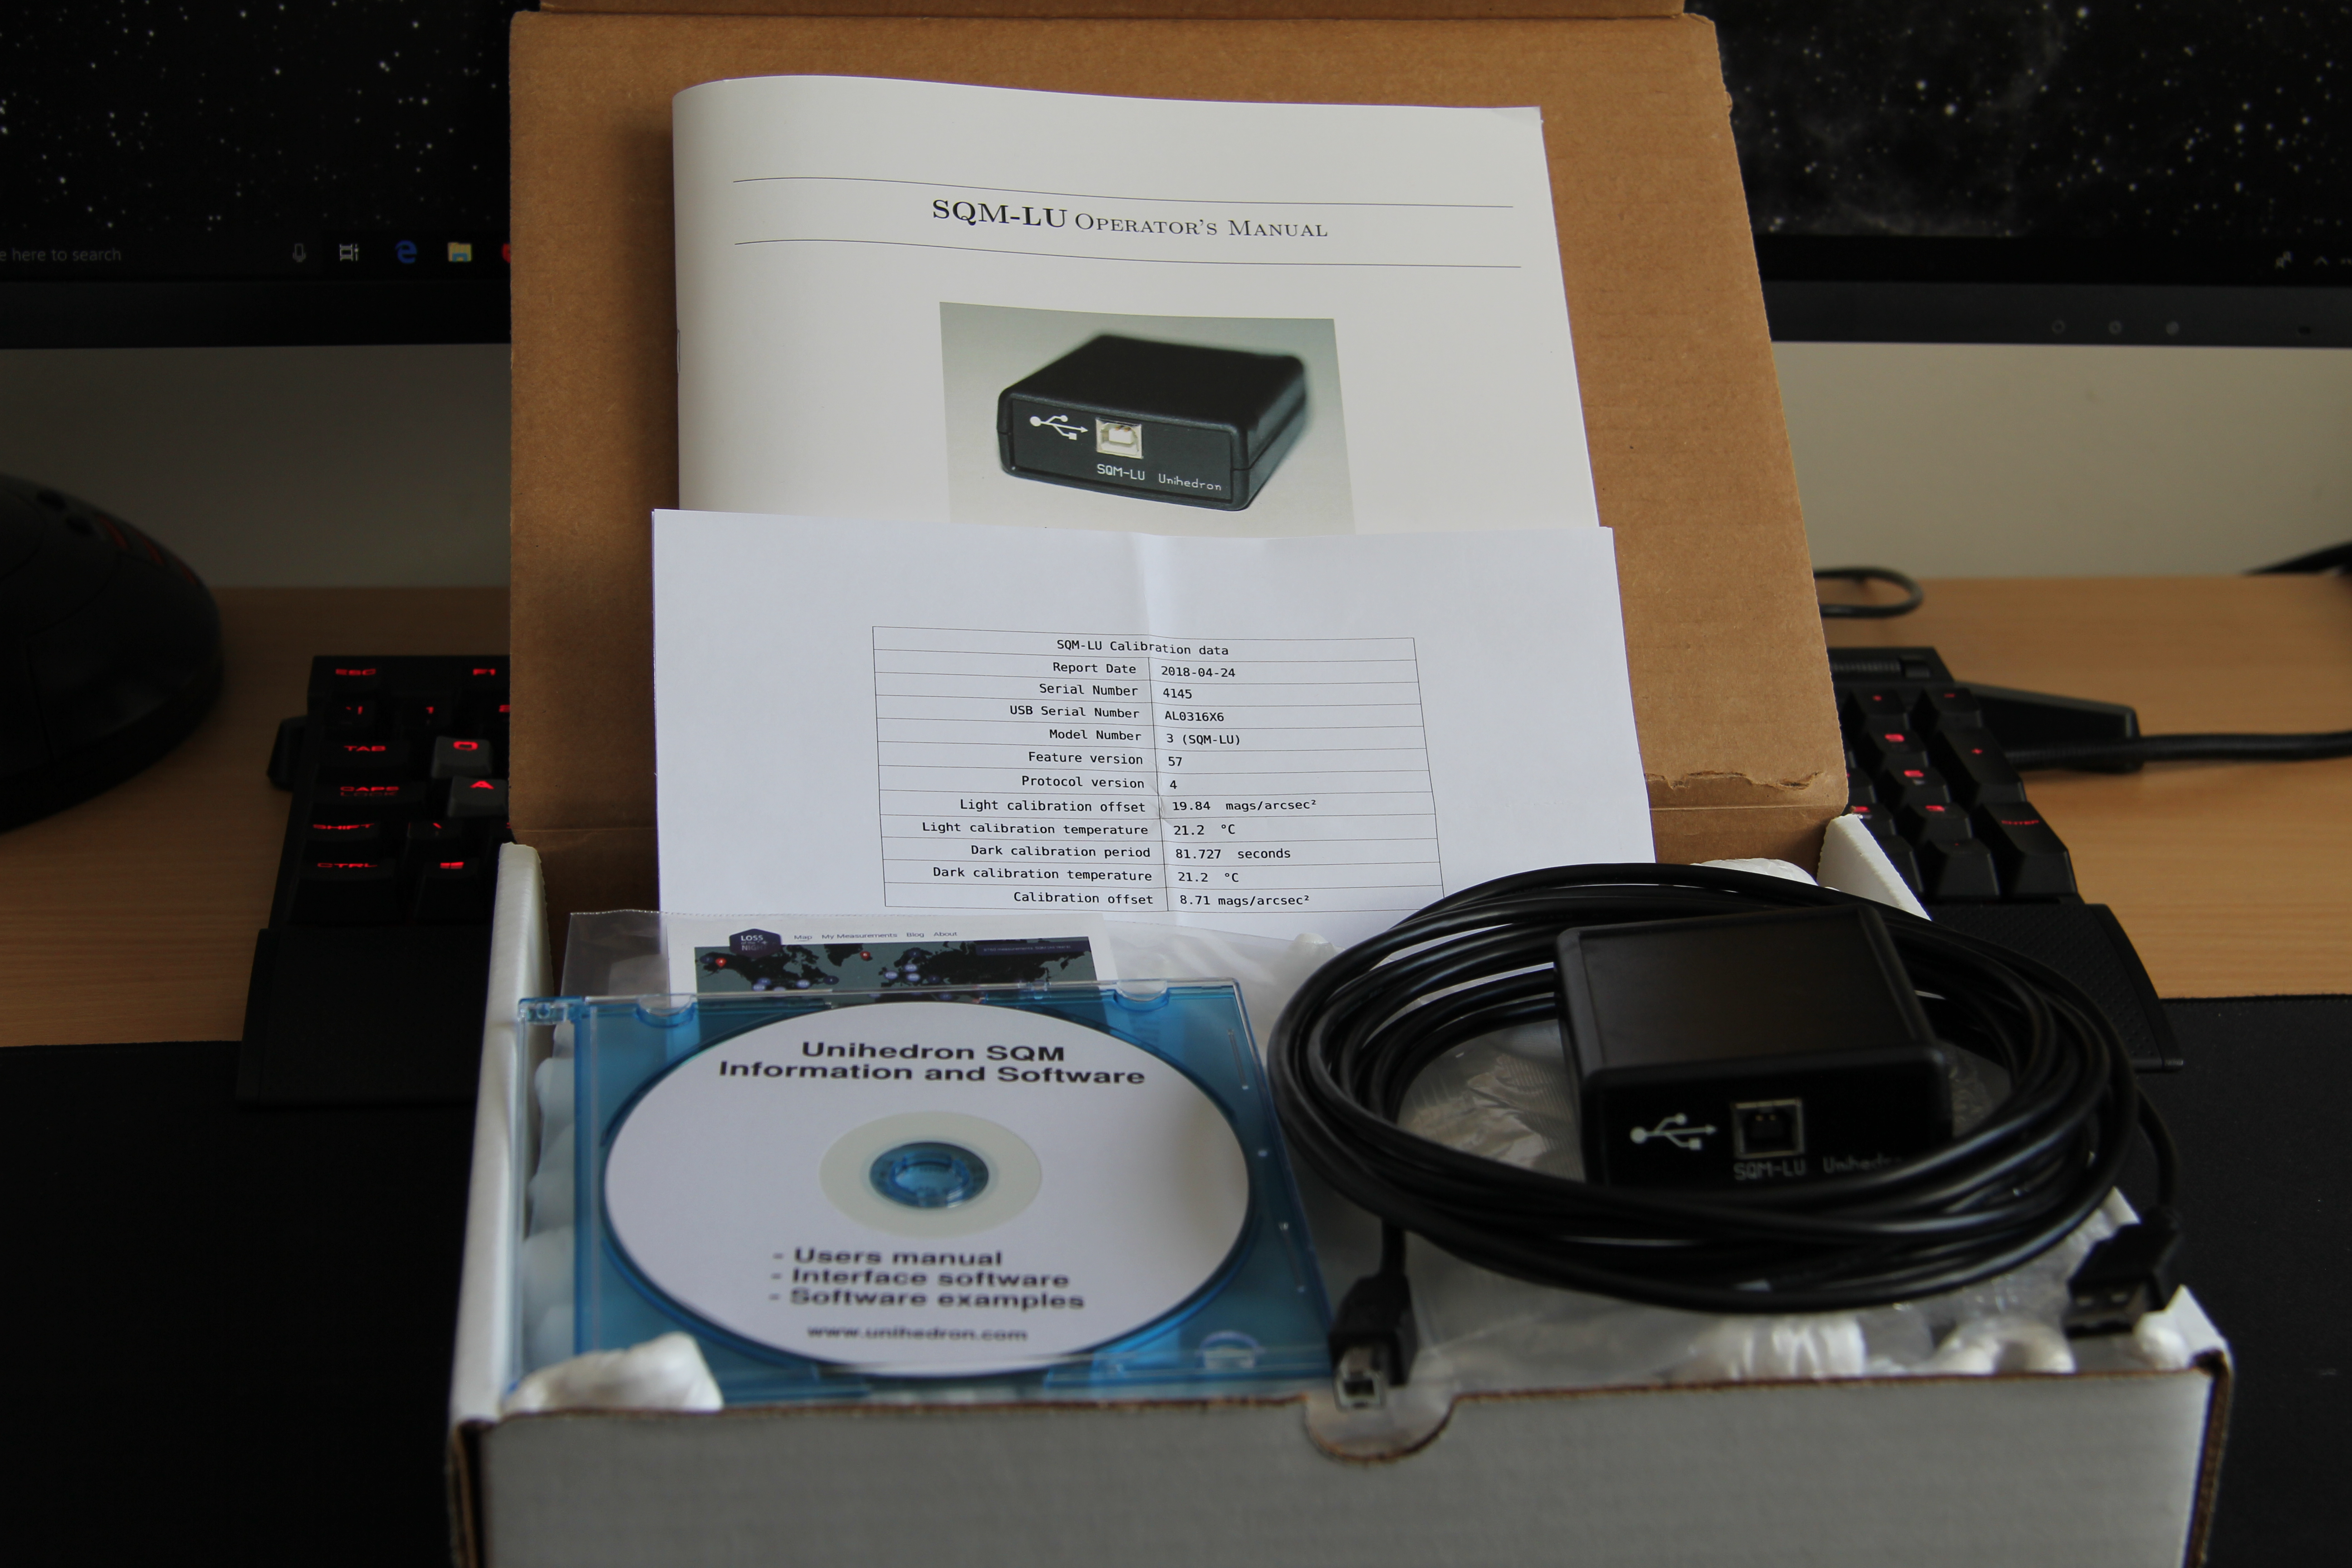 The device was already factory calibrated and was shipped with latest firmware. The Unihedron Device Manager (UDM) is the standard way to access the device and provides all the necessary options for a simple plug and play experience.